Note: Spark AR was shut down in 2025
So I watched the Safiya Nygaard video where she helps design AR filters for Instagram and TikTok and I though 'WOW that looks easier than I thought' because the motion tracking is built in and the most simple filters can just be a png file!
Here is what I made:

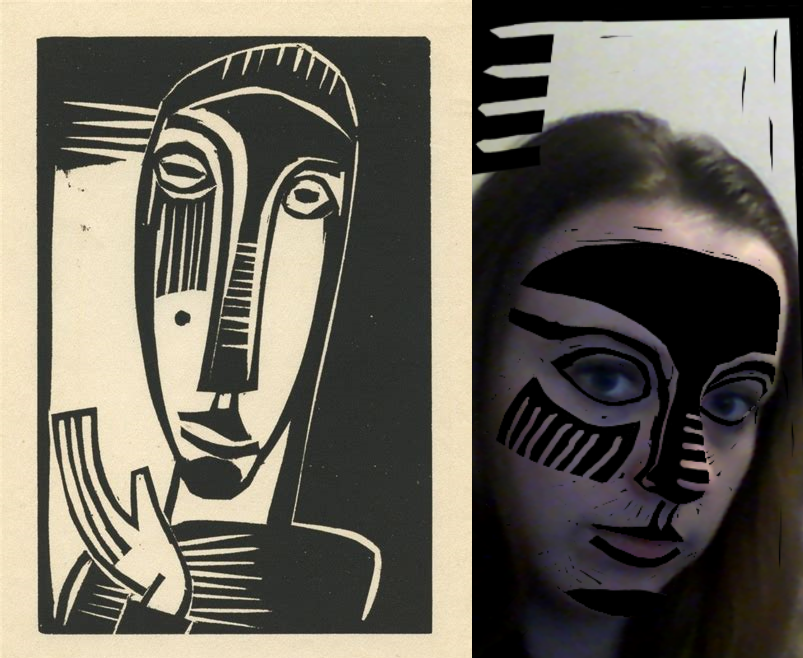
This simple mask filter imitates this woodcut Little Prophetess by Karl Schmidt-Rottluff. It was made of two png files, one for the border and another for the face. You can use it on Instagram and Facebook.

I made this filter in an afternoon. It’s important to me to be able to complete something quickly before doing a more complex version. I wanted to do a printed filter. Next time I will be carving, printing, scanning, and adding some logic to the filter. That is a lot more work than ‘just’ drawing digitally. Below shows the various iterations of my mask file.

How to make an AR filter
Design your mask in whatever image program you use. There are face files to use as a template linked [link removed]. I used paint.net, which is free. I started with a 30 second doodle just to test the principal.
Move it to Meta Spark Studio
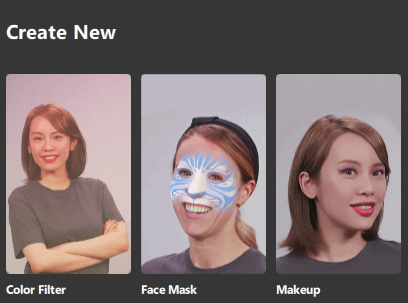
When you first open Meta Spark Studio it presents you with several templates. I used the face mask filter.

Right click the texture labelled replace me, select replace, and select your file. Bam. Done. Except there are probably going to be some changes you want to make.
Test it out

Three versions of my filter that needed fixing. 1 did not look good so changed the white paper to transparent. 2 looks nothing like a print so the opacity of the black needed changing. 3 was flashing grey and black so I reuploaded the file and it stopped glitching.
You can test it in Meta Spark Player on desktop or mobile. I mostly tested in Studio as I was aiming for speed. I do have some tips picked up from my mistakes:
- Make sure the image has transparency!
- Test without glasses for eyebrow action
- There is probably a video tutorial somewhere for what you want to do (see the playlist linked at the end of this page).
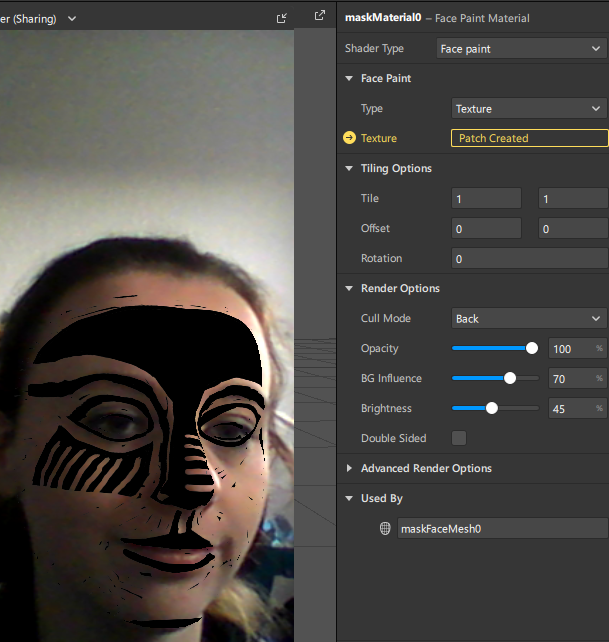
- You can change the opacity in the render options
- Keep uploading to Studio to see how your changes look.

A genuine smile in this screenshot just after I found the opacity settings. Once you are happy with your filter you can:
Upload it
Onto the Spark AR Hub [link removed]
You will need:
- Facebook account
- Video of your filter in use
- Icon image
The filter needs to be tied to a Facebook and/or Instagram account. I had to associate my art Instagram with my keep in touch with family FB account. If you do not want to do this set up a dummy account. You can also hide the filter from showing on your Instagram page.
Getting a video of the filter running was actually the hardest part of the process for me as I was just testing the filter on my computer and I do not have software to crop videos. The video needs to be in portrait. I ended up recording my laptop screen on my phone. You should test the file on your phone and screen record on there.
The approval process can take a couple of days. It was live within 12 hours for me.
You can update the filter file and associated images after uploading.
Share your work
In the week after release my filter has been opened 44 times, saved twice (one is me), and shared once (maybe by my Mum). I’m fine with that. I tweeted about it on my tiny Twitter accounts and it will sit there.
If you find this guide helpful please @ me on Instagram @voidnotes
Tutorial over
It is not a surprise the Meta Spark software is free. Each platform requires a bespoke filter in built in their own program. This incentivises artists to keep building for their platform; adding value to that platform. This is part of the reason I don’t want to make too much for Instagram. This was a toy for me.
I’d like to get my head around eye tracking and the logic for making a filter more interactive. If I do a follow up it will be linked here.
Handy links
Downloads for the Meta Spark Software- Face Reference Assets download
- Official guidance on publishing your effect
- 10 minute tutorial on mask filters
- List of effect tutorial videos
- Safiya Nygaard Video