24.06.2019
Step 0 – Go on holiday
An essential stage is going on a trip and collecting stuff! I brought back a paper bag of stuff in my suitcase and photos on my phone. Stuff includes:
- Digital stuff – Photos, videos, audio recordings
- Maps
- Wrappers, bags, Fliers, brochures, Tickets, business cards
- Postcards & tourist tat
- Receipts (you don’t have to use them all)
- Notes about things you did. Digital or physical.
Some things I have collected in the past and not had a way of using include: beer mats, badges, shells, and a sprig of lavender.
Have a nice time and collect things that will jog your memory. This will be important for step 2.
Step 1 – Print photos and buy scrapbooking supplies
This can be an expensive hobby. Individual components may not be that much but it adds up. Don’t get all the gear for your first project. Especially if it’s likely you won’t finish it.
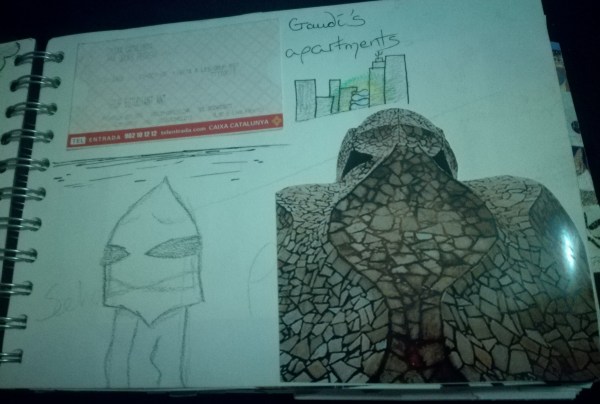
When I was 14 I had a school trip to Spain and had to keep a sketchbook. It’s really sweet to look at it now. While there are things in it that jog my memory, I also wish I had photos of my friends and notes about the fun we had (The highlight would have been buying a pack of playing cards that had pictures of naked men on them. I was the only one brave enough to do it). I think it is good for a first scrapbook made with just using normal pens, bits of wallpaper, photos, post cards and tickets...
I think essentials are:
- A book to stick in – I like ring bound scrapbooks as my pages get very full. Strap-hinge albums and the like let you add and change around the order of pages which can be very useful. Those also fit the thickest of pages. You need one with strong enough paper to hold lots of stuff so card is better than paper. For a 2 week trip I chose a 50 page A5 book and ended up removing 6 sheets.
- Coloured paper – I find this is the fastest and cheapest way to make things look exciting. My first project was looking very bland but just by changing the plain white paper background everything started looking more… right. I’ve also found success on black paper with white pen.
- Glue – or photocorners if you don’t want to glue your photos down forever. Glue dots are great for working quickly and don’t warp paper like too much PVA does.
- Bluetack – for testing layouts
- A decent pen – or coloured pens. Think about a white or silver pen for dark pages. Consider if you need to write on glossy paper or the backs of photos.
You’ll also want to collate your scraps into the order you’re going to keep your book in. I do chronologically but you could sort by theme or person or location.
Step 2 – Plot your book
If you need to develop analog film, do so as soon as possible. The longer you wait the more faded they’ll be. It’s also good to order prints relatively early. Going through your photos and picking which to print is good to do at the same time as putting scraps in order.
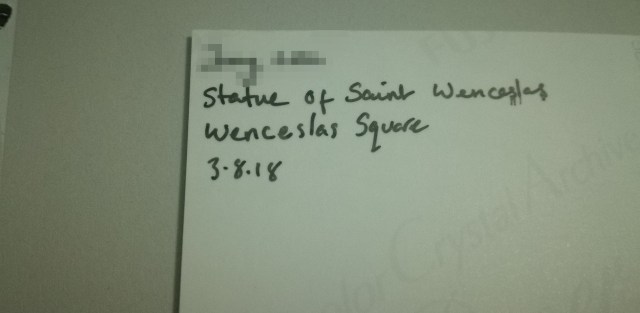
You can write out a rough draft of your text as you go through. The more you look at to jog your memory, the more you can add to the notes.
Labeling the backs of photos may damage them long term but I have them backed up digitally and labels would be good archiving for when you need to remember someone's name. Glue can also damage photos (and paper like below after 10 years) so I’m using photo corners. These let you slot in a photo without holding it forever.
Step 3 – Layout
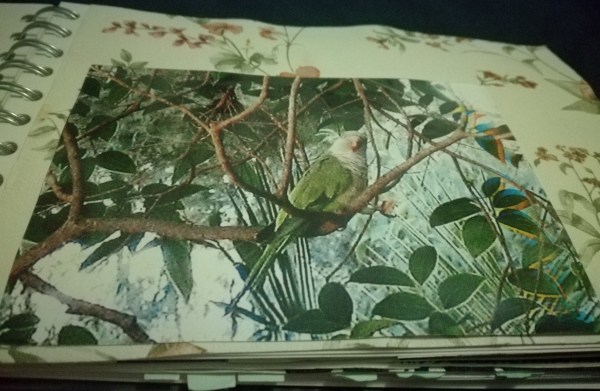
Now you have your scraps in order and groups start to tack the scraps in place. Pick out background papers and boarders for pictures.
Lots of people think about a # grid of each page and put stuff on the + points. I’m using small pages so am just putting the photos wherever. Decide if you want to let objects overlap. Don't be scared to trim down photos. You will almost never regret it and if you do you can tape it together on the back or print another.
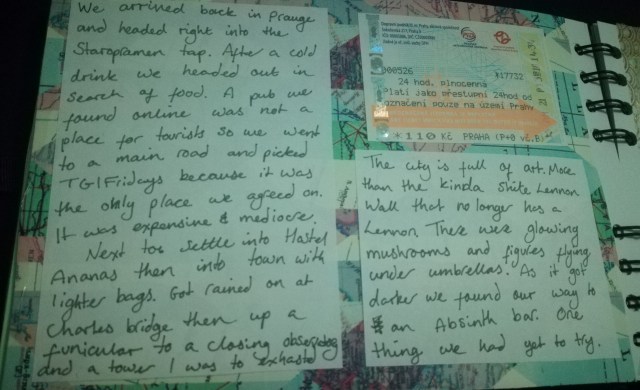
Decide if you are planning your text beforehand or just writing on top of your layouts. You may run out of space of you don’t plan. This does take longer though.
Step 4 – Glue! and words!
Cutting and gluing can be scary. Just go page by page. It’ll be ok. Photos can be reprinted and if you are super worried: practice on a photocopy or tracing paper.
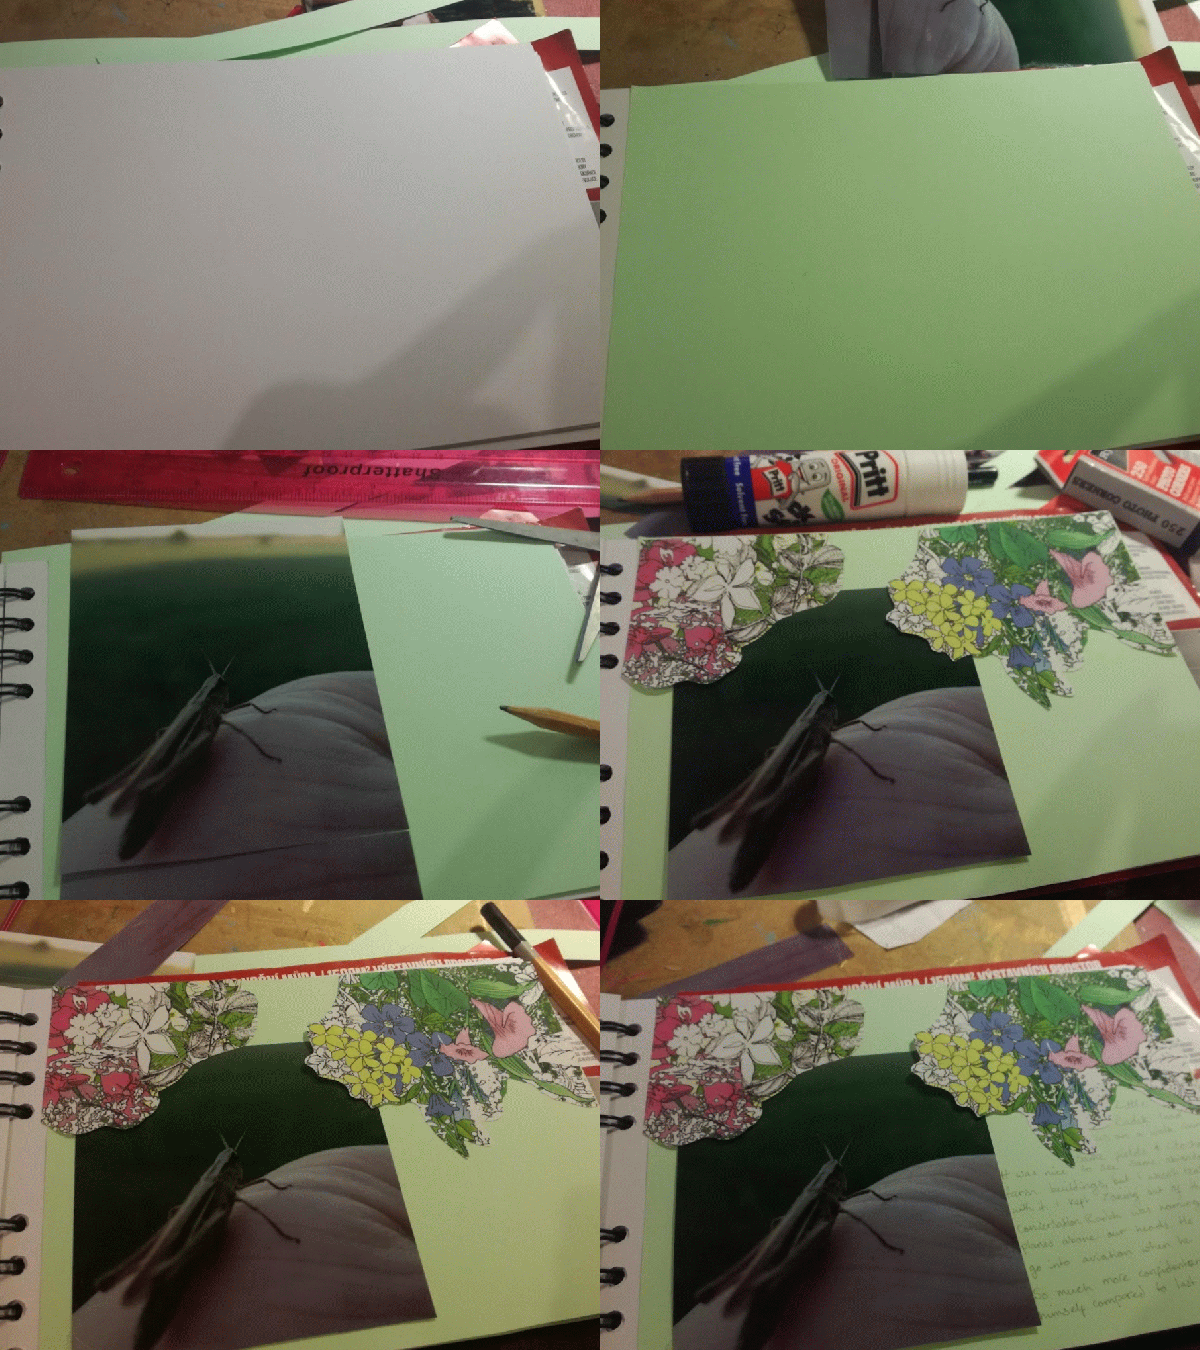
Lay all the parts on the page. Jiggle them about. Rip off a design you saw in a book or on the internet. Or just rip & glue & scribble. I find the designs online that are expensive stock elements with one photo to be both too much and unsubstantial.
As you go along you may remember more things. Add memories.
Step 5 – Add more pretty things?
Stickers! Can be as fancy or as cheap as you want. Washi tape can cover gaps and edges. It’s also beautiful and buying it is addictive.

You can fill gaps or draw attention to things. Or not. This is your art! You have done an art! Step 6 starts whenever you are ready.

Step 6 – Show off
It is 6 months after I started my holiday scrapbook and when I started this article. The scrapbook is not 100% finished but it is 90% there. I have a beautiful memento that the friends I went with think is cool.
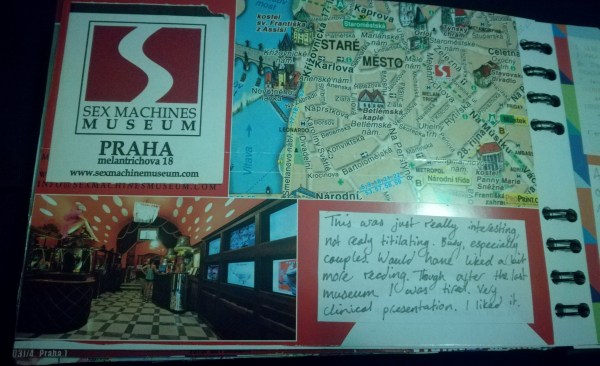
You did it!
You remembered lots about your holiday and now have something physical to remind you in the future. Flicking through my old scrapbooks helps me remember the good times. And the bad. It’s up to you what you record.