Do you, like me have a habit of saving paper for a perfect scrapbook you have yet to make? Well here you go. A three step guide to getting it done. (Three steps is really one step. The same way anything gets done; start the doing the thing then keep going until you finish it.)
Done is better than not-done. Fine is better than perfect-if-you-ever-started. Glued & viewed is better than in boxes & forgotten.
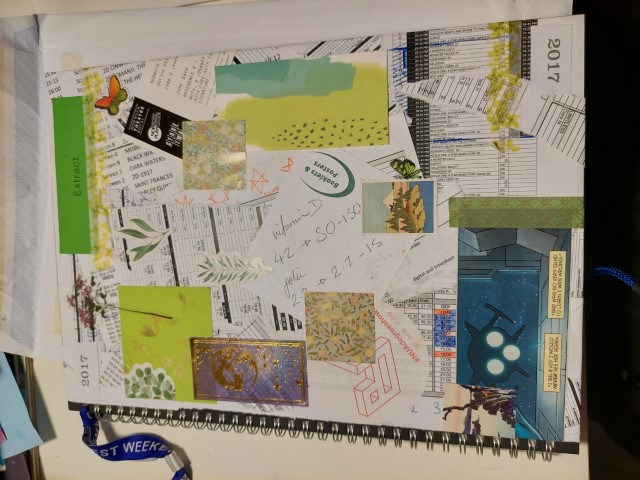
Why do I have rotas from 2018 in this box? May as well throw them on the cover.
1. Supplies
Grab any ring bound sketchbook, glue, tape, scissors, two decent markers. A bit of stuff for decoration. Today is the day you finally glue things down.
Sketchbooks have thicker paper and was the book fills up having it ring bound or in hinges reduces complications.
For decor: any coloured paper you can find. Magazine spreads, birthday cards, wrapping paper, or the fancy patterned kind made for scrapbooks. Maps and brochures are great.
Grab one collection of scraps. Order them by date or theme or colour or don’t. Just don't get caught up ordering them. I took a stack and worked with it until it was mostly gone. Then I added another pile. Sure I ended up with three different pages of cinema tickets but on the first evening I tackled this I got five pages done. Perhaps 5 more than I would have done if I kept sorting.
2. Prep the page
Leave the first page blank if you want to later put a nice intro in. Start on page two. You can come back later.
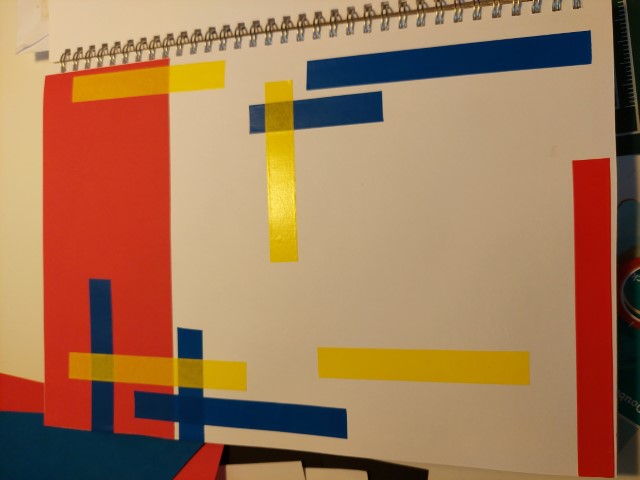
Starting on a blank page is hard. Put something on the blank page. doodles or scribbles or some decoration. Patterned paper helps me. This page used a bit of red paper and some coloured tape. I stuck to the three primary colours so to keep harmonious.
3. Scraps down!
Ok, you have a bit of something. Now you can glue down some things. Not all things. If you have several items from one event: group them together. Do you need all of them to spark you memory? You can recycle some and snip or rip or overlap others.
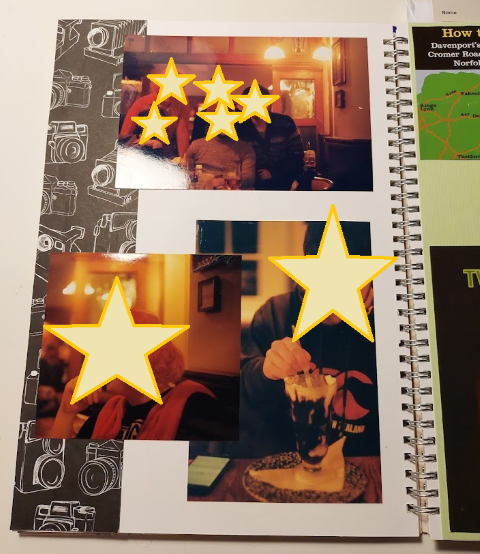
Here I only put a strip of patterned paper down before adding the photos I had saved.
There: now you have a page with scraps. Throw on some writing or stickers or doodles. Decoration is optional (as are all things in art) but can fill in any bits that feel empty.
You’ve done a page! start on the next. Go back to step 2 and keep going until you are able to glue or bin all the scraps you had.
Examples
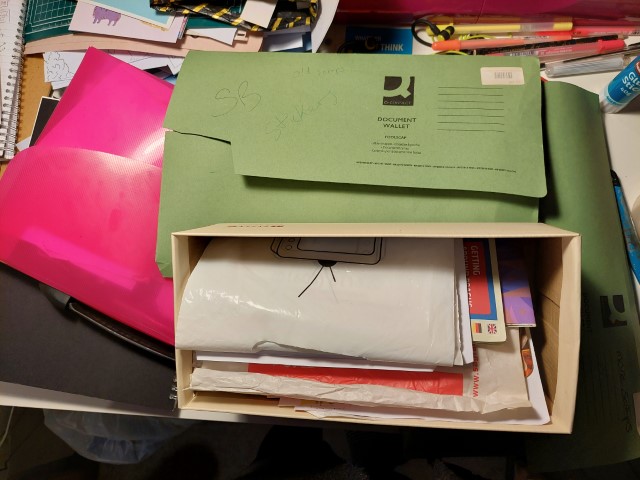
You can make little envelopes for things you want to keep. I like to use tracing paper so I can see the contents.
Most pages have one main colour like the cover which is white with green highlights.
Remember not to be precious about trimming items down or throwing them away. Some things will not make the cut. That is part of the process.
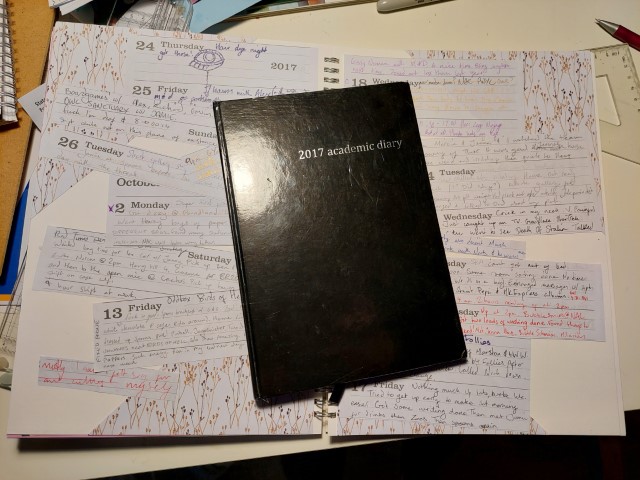
Here I replaced a diary I wrote for 6 months into two A4 pages of highlights. I have also saved other long form written memories I want to keep in paper envelopes. You can use any paper incruding tracing paper which lets the first page be read.
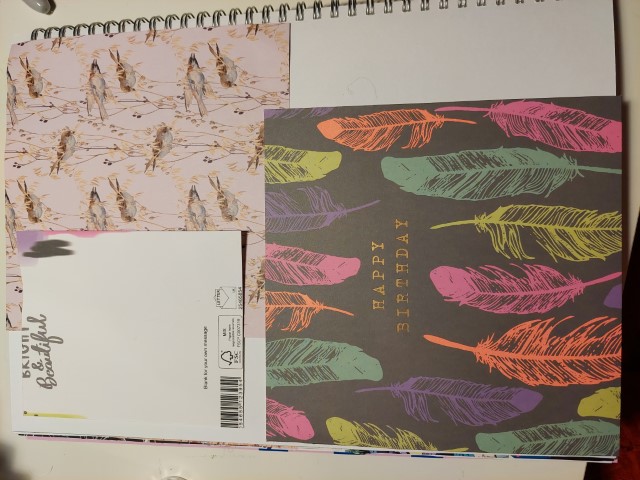
Above I turned the front of a Birthday card into part of a layout. Free decor.