I want to solve my smallest problems. My tool kit at work has no handle or strap. I only use 40% of the tools so I am carrying extra weight for no benefit. It's not cute. Screwdrivers are not great to keep in pockets and not all my outfits even have those.
Solution: Make a bag to fit the dozen items I actually need. Try several new techniques and use spare fabric to make something interesting.
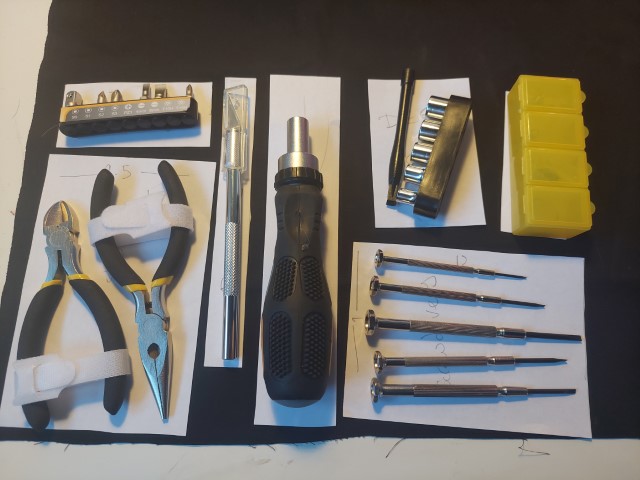
I've cut down to my core items I want to carry with me. Once I had traced them I played around with the paper shapes to make a pleasing arrangement.
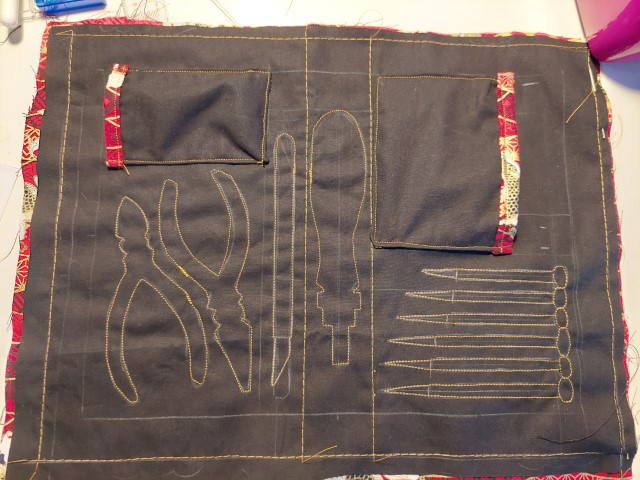
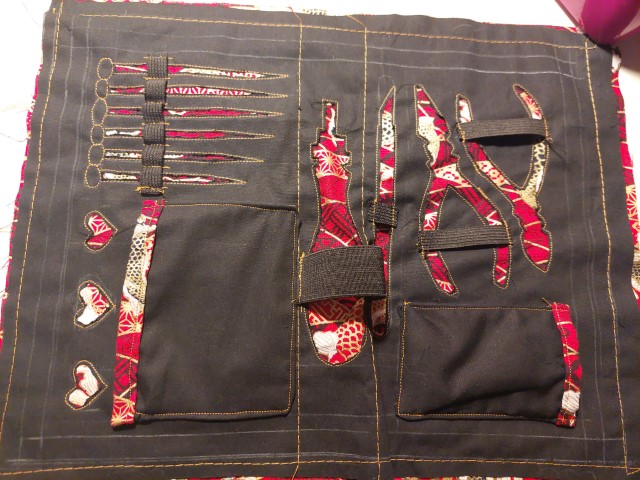
I like the idea of marking where tools live in storage solutions. Reverse applique seemed the most fun way. Sewing around the borders of the items and cutting away to reveal colour beneath.
I am unable to stitch through the cardboard body to secure the elastic. I decide to soak epoxy through the fabric into the cardboard. This darkens the fabric and dulls the patterns.
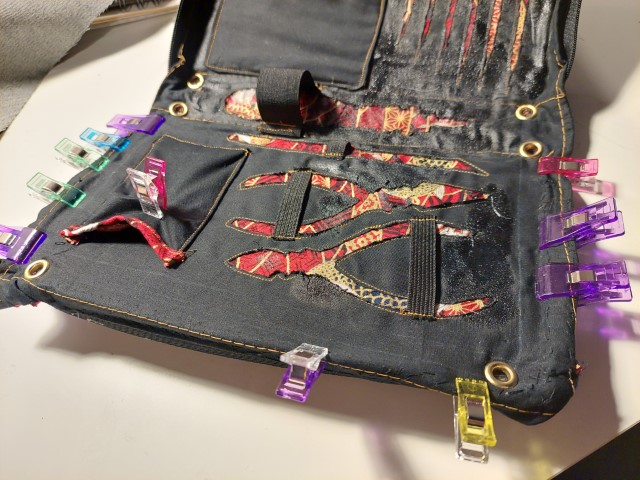
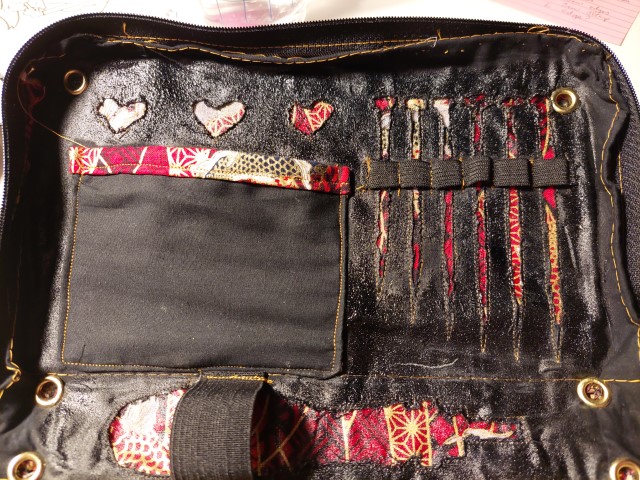
I also use grommets to secure the inside fabric to the body.

To secure the bag strap I hot glue and epoxy some spare fabric strip. I just have to make a neat slit in the outer fabric and pop the D rings through it. I chose clips to attach the strap so I can mix and match with future straps & projects.
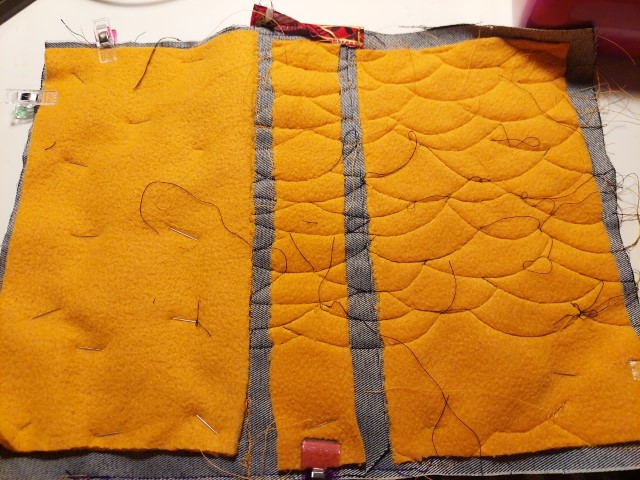
I was worried that the cover would be loose only glued down and then stiched at the side so I decided to expoy the outside. The keep the outside soft I wanted felt to take the epoxy. For the felt to work the cover had to be sewn all over.
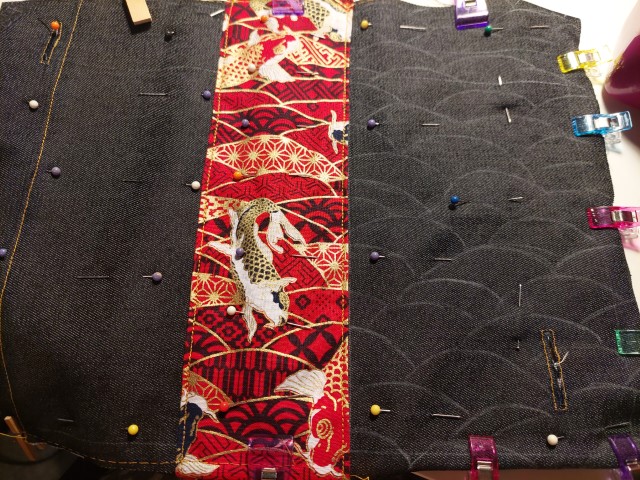
It was either following the grain of the denim to hide the stitching or make it the main focus. As the spine had the fish scale pattern I expanded that all over.

I loved how the fish scale came out. Sadly I had not left enough fabric at the edge to neatly reach the zipper. That is why there is bias tape hand sewn around to cover the jagged edge between zip, cover, inside edge and any other sins. Again, a learning project.
It's not perfect but I am proud. And I am using it at work. It looks cute and is not clearly handmade my an amature from a distance.

If I make a version two I'd add a second outer pocket for my phones and a pouch for components. Maybe more like a traditonal purse with multiple layers. I keep wishing I could store more things in the bag. Use it as a bag rather than a tool kit. Have a protected section for spare RAM. I have solved the problem of not having an easy way of transporting my tools but I had not identified the deeper issue: not having an easy way of transporting anything.